
Microbiological Laboratory Section
| Instruments Name |
| Water-Bath |
| Incubator-01 |
| Incubator-02 |
| Incubator-03 |
| Vortex |
| Microscope |
| Colony Counter |
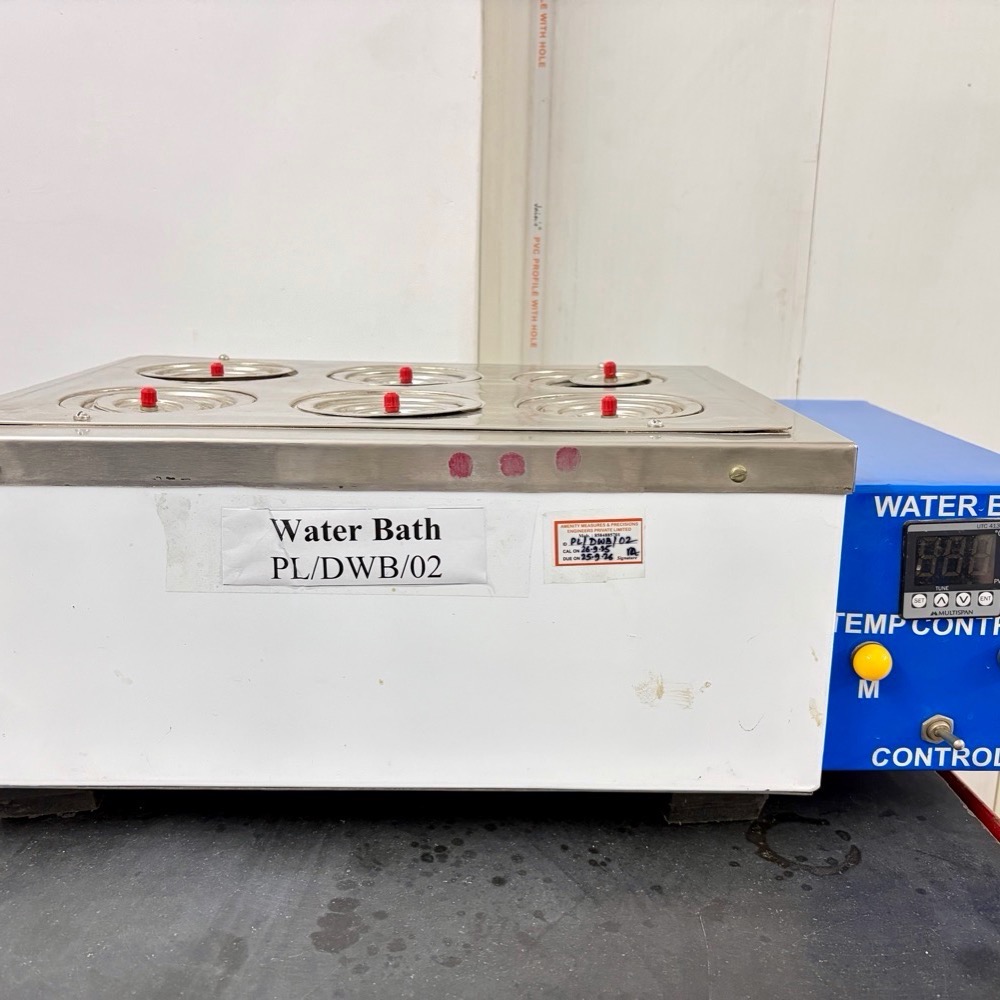
WATER-BATH
Lab ID -PL/DWB/02
Pour distilled water into the water path upto atleast 5 cm above the heating cell in immersed condition.
│
▼
Switch on the hot water bath & set the temperature to 45 ± 1 ℃.
│
▼
Constant temperature is reached with thermostat control.
│
▼
After the work is over, switch off the equipment.
Precaution
- Ensure the water level is adequate before switching on the water bath.
- Use distilled water to prevent scale formation.
- Handle hot vessels with tongs or heat-resistant gloves.
- Avoid spilling water on electrical parts.
- Repeat the calibration process or inform the technical manager if variation exceed the ±5% of expected value.
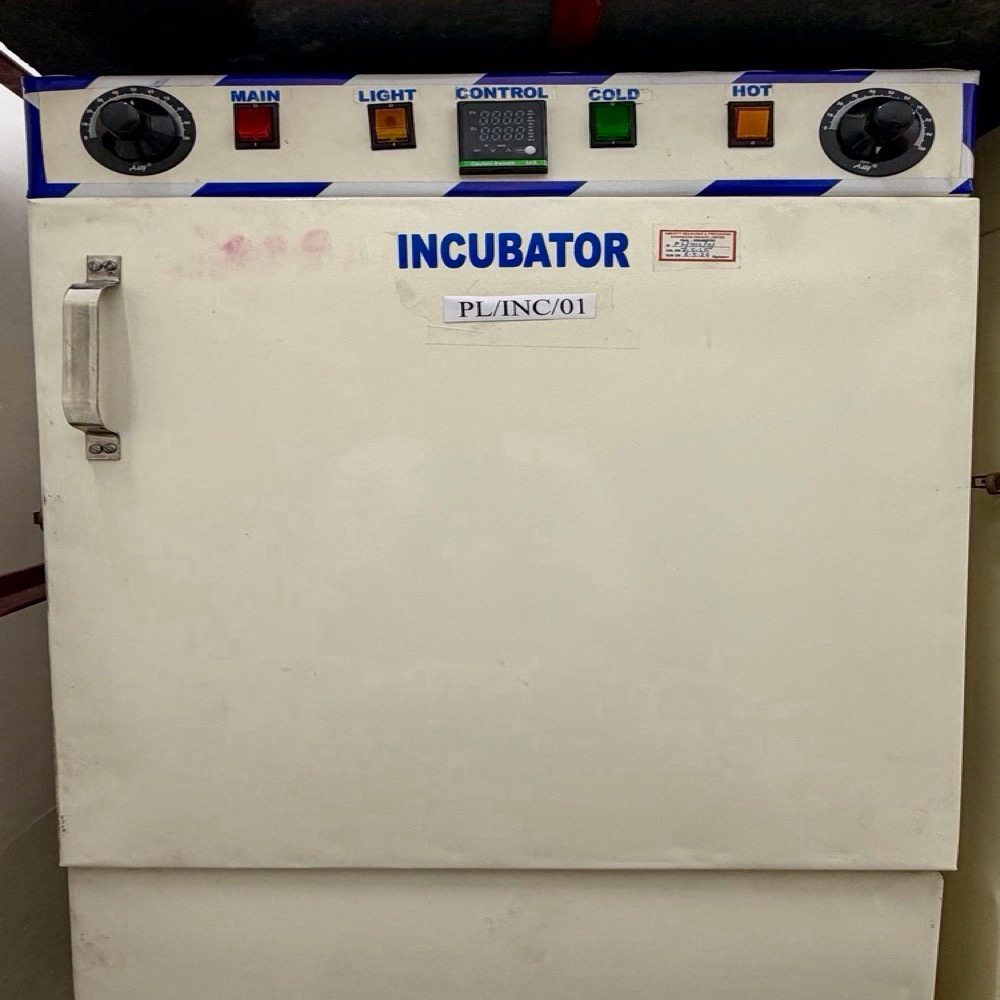
INCUBATOR 01
Lab ID -PL/INC/01
Switch on the Incubator
│
▼
Ensure incubator is disinfected (70% alcohol) and dry
│
▼
Switch on the thermostat & set the required temperature 37±1℃ (E.Coli & Coliform in food & water sample)
│
▼
Allow incubator to preheat and stabilize (15–30 min)
│
▼
Place culture media/plates inside incubator with proper labelling
│
▼
After incubation, remove cultures carefully.Switch OFF incubator (if not in continuous use)
Precaution
- Avoid frequent opening of the door to maintain constant temperature.
- Keep the incubator clean and dry to prevent contamination.
- Do not overload the incubator.
- Regularly calibrate temperature.Inform the technical manager if variation exceed the ±5% of expected value.Keep a temperature log record.
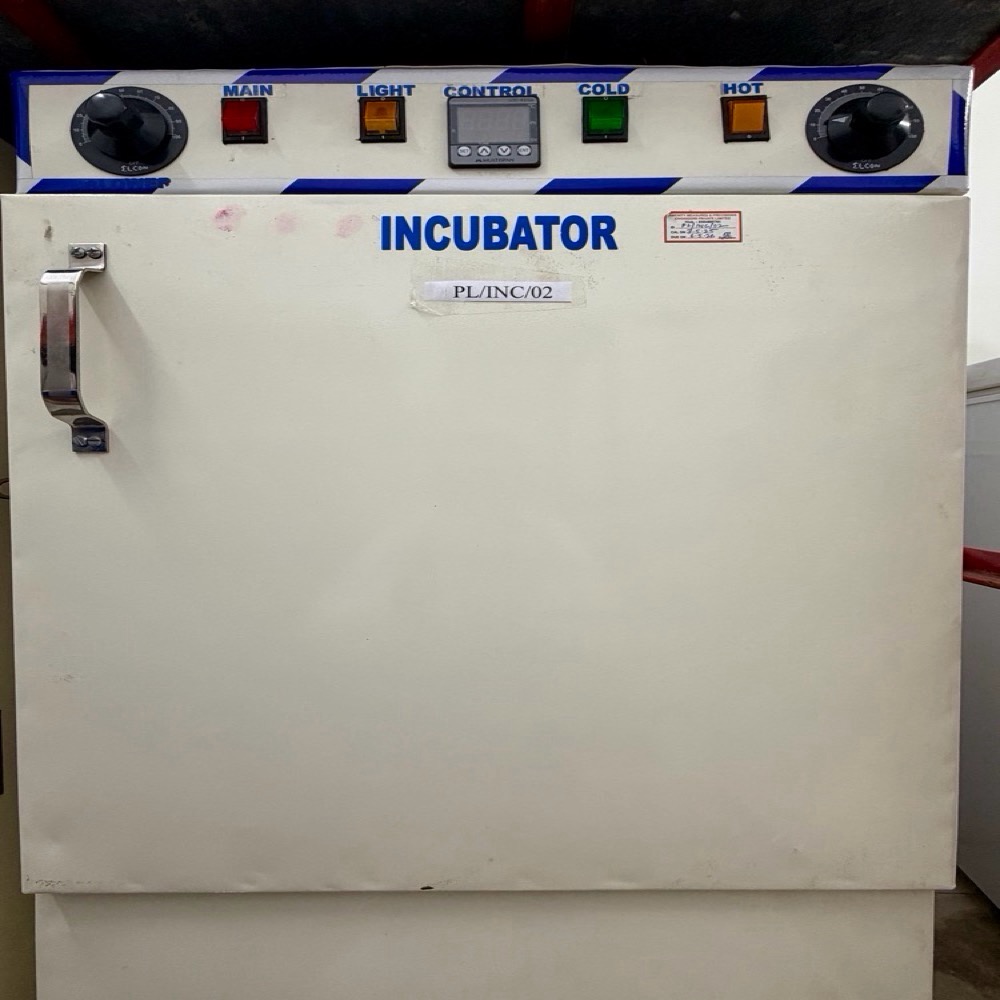
INCUBATOR 02
Lab ID -PL/INC/02
Switch on the Incubator
│
▼
Ensure incubator is disinfected (70% alcohol) and dry
│
▼
Switch on the thermostat & set the required temperature 25±1℃ for Yeast & Mold testing
│
▼
Allow incubator to preheat and stabilize (15–30 min)
│
▼
Place culture media/plates inside incubator with proper labelling
│
▼
After incubation, remove cultures carefully.Switch OFF incubator (if not in continuous use)
Precaution
- Avoid frequent opening of the door to maintain constant temperature.
- Keep the incubator clean and dry to prevent contamination.
- Do not overload the incubator.
- Regularly calibrate temperature.Inform the technical manager if variation exceed the ±5% of expected value.Keep a temperature log record.
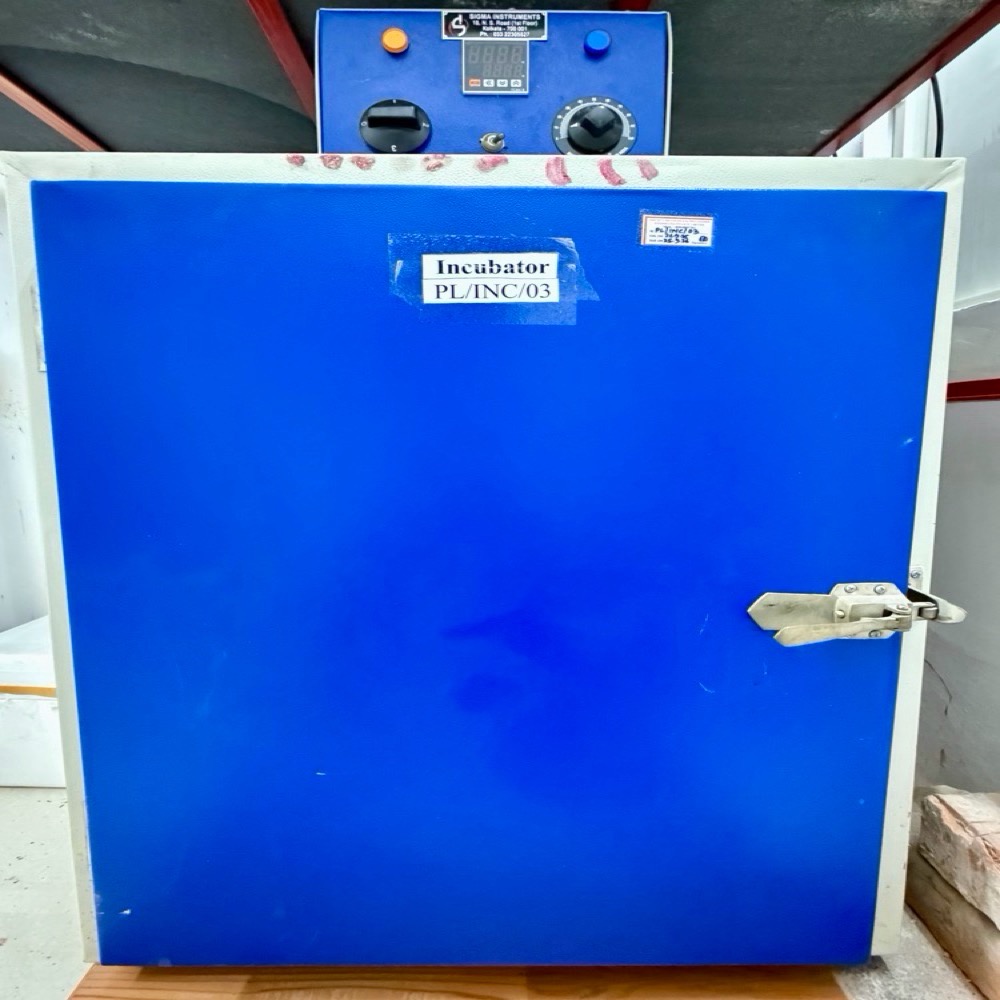
INCUBATOR 03
Lab ID -PL/INC/03
Switch on the Incubator
│
▼
Ensure incubator is disinfected (70% alcohol) and dry
│
▼
Switch on the thermostat & set the required temperature 30±1℃ (Total plate count Test in food sample)
│
▼
Allow incubator to preheat and stabilize (15–30 min)
│
▼
Place culture media/plates inside incubator with proper labelling
│
▼
After incubation, remove cultures carefully.Switch OFF incubator (if not in continuous use)
Precaution
- Avoid frequent opening of the door to maintain constant temperature.
- Keep the incubator clean and dry to prevent contamination.
- Do not overload the incubator.
- Regularly calibrate temperature.Inform the technical manager if variation exceed the ±5% of expected value.Keep a temperature log record.
VORTEX
Lab ID -PL/MB/MV/01
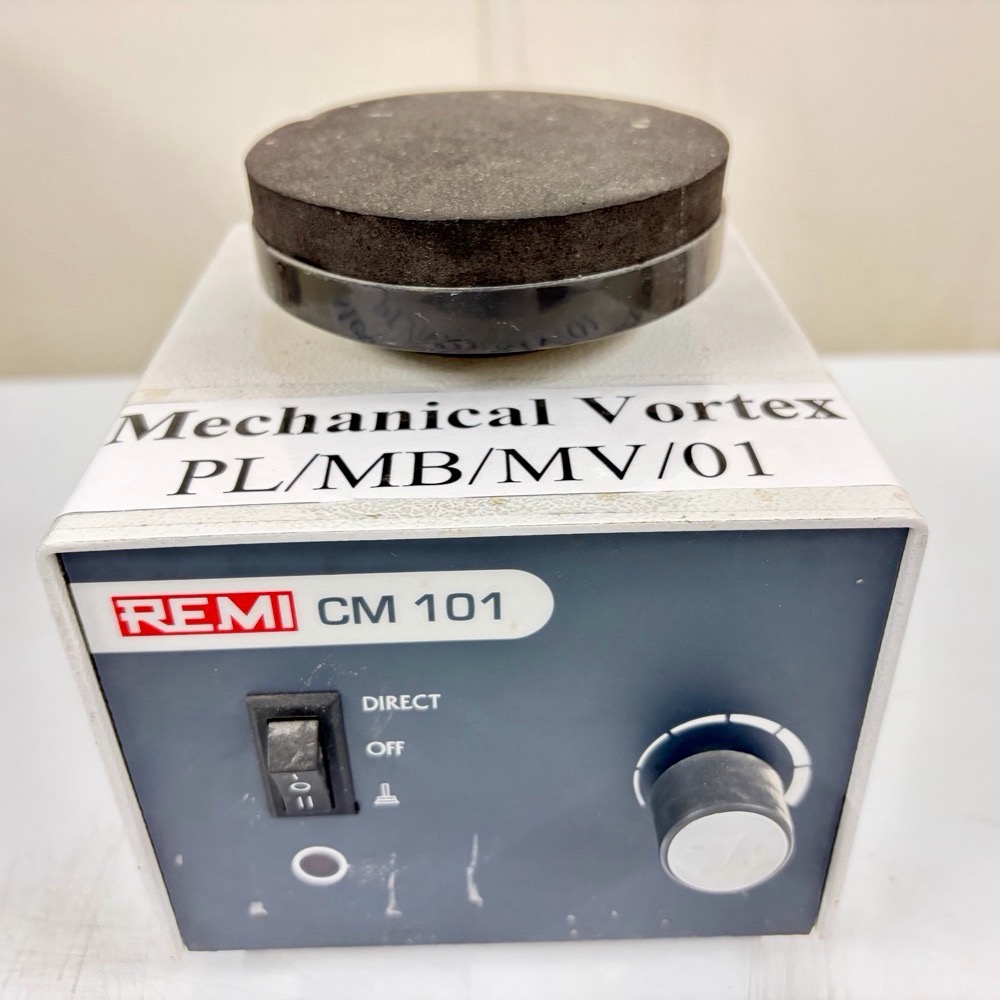
Switch on the Instrument
│
▼
Ensure rubber cup/head is clean and properly fixed
│
▼
Place the mixer on a stable, flat surface
│
▼
Adjust speed control knob to required speed
│
▼
Hold the test tube firmly (with cap closed)
│
▼
Allow mixing until solution becomes uniform
│
▼
Remove tube from mixer
│
▼
Switch OFF the instrument
│
▼
Clean the rubber head if any spillage occurred
Precautions
- Always cap tubes tightly before mixing.
- Avoid excessive speed for fragile tubes.
- Do not spill infectious materials.
- Disinfect after use if contaminated.
MICROSCOPE
Lab ID -PL/MB/MS/01
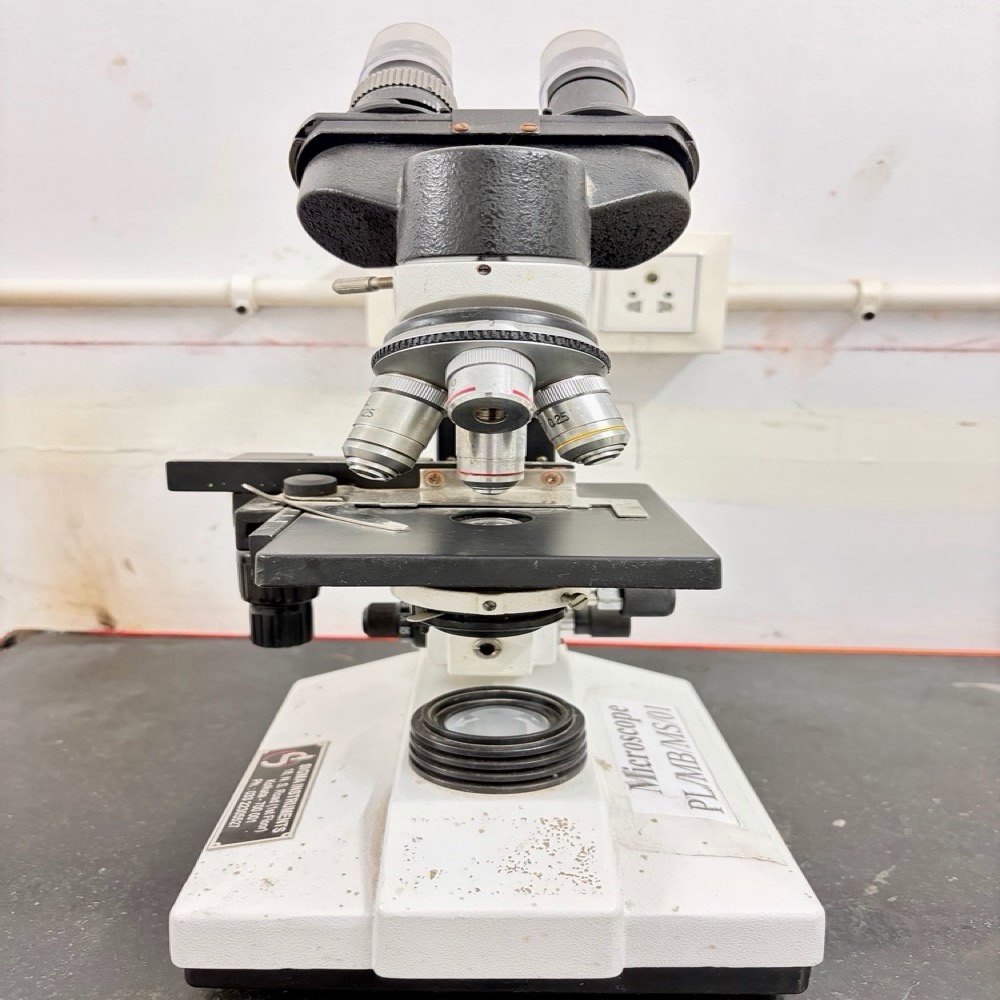
Place microscope on a clean, stable table & Check cleanliness of lenses
│
▼
Switch ON light source
│
▼
Place prepared slide on stage.Secure slide with stage clips
│
▼
Select low power objective (10X)
│
▼
Adjust coarse focus knob to obtain image,fine focus knob for clarity,diaphragm and light intensity
│
▼
Switch to high power objective (40X) if needed.Use fine adjustment only for focusing
│
▼
For oil immersion (100X) Place a drop of immersion oil on slide
│
▼
Rotate to 100X objective.Focus using fine adjustment only
│
▼
Observe and record findings.Remove slide carefully,Clean oil from objective.
│
▼
Switch OFF light.Cover microscope properly.
Precaution
- Always start with low power objective.
- Never use coarse knob on high power or oil immersion.
- Do not touch lenses with fingers.
- Handle microscope with both hands.
COLONY COUNTER
Lab ID -PL/MB/CC/01
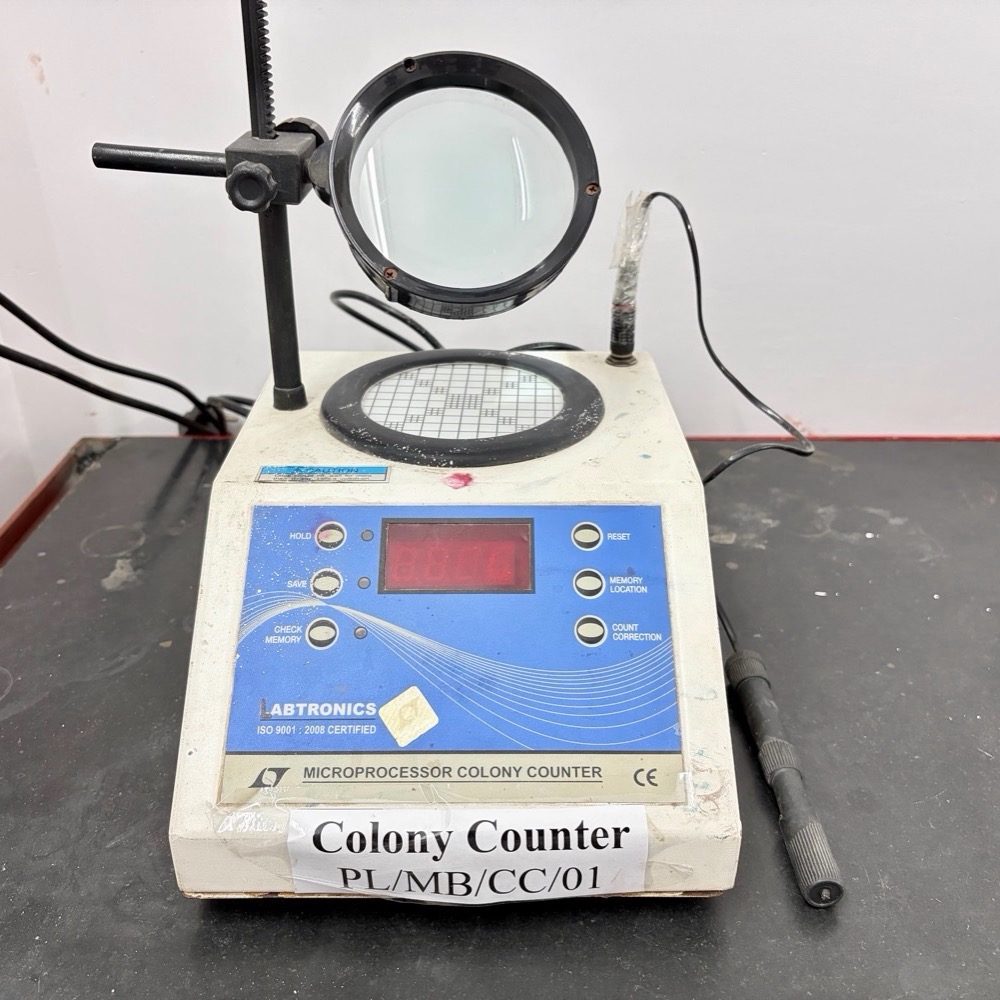
Clean the counting platform with disinfectant
│
▼
Switch ON the colony counter.Adjust light intensity and magnifier position
│
▼
Place Petri plate (inverted) on counting grid
│
▼
Mark each colony using marker tip probe
│
▼
Press counting button for each colony counted
│
▼
Ensure each colony is counted only once
│
▼
Complete counting of entire plate
│
▼
Note final colony count from digital display & record result
│
▼
Remove Petri plate carefully
│
▼
Switch OFF the instrument
│
▼
Clean surface if contaminated
Precaution
- Count plates with 30–300 colonies (ideal range).
- Avoid double counting.
- Handle plates aseptically.
- Do not press too hard on agar surface.
- Disinfect after handling contaminated samples.