
Chemical Laboratory Section
| Instruments Name |
| pH Meter |
| TDS Cum Conductivity Meter |
| Analytical Balance |
| UV-Vis Spectrophotometer |
| Turbidity Meter |
pH Meter
Model no- Labtronics LT-150
Lab Id no –PL/DPHM/01

Switch on the instrument & allow to warm for 15 minutes at room temperature(22°C-25°C)
│
▼
Calibrate by buffer solution of pH 4.0, 7.0 & 9.0
│
▼
Calibration ok & ready to measure sample’s pH
│
▼
After 3-point calibration result display of pH of sample
│
▼
Record the pH value of the sample
Precautions:
- Clean the electrode with clean & dry tissue in every step before dipping in one buffer to another buffer to avoid cross contamination.
- Always take 3 readings to get the accuracy of result.
- Repeat the calibration process or inform the technical manager if the pH of the buffer solution is not within 0.1 pH units of the expected value.
- Repeat the calibration process or inform the technical manager if variation exceed the ±5%
TDS Cum Conductivity Meter
Model no- Labtronics LT-51
Lab Id no -PL/DCM/01

Switch on the instrument & allow to warm for 15 minutes at room temperature(22°C-25°C)
│
▼
Adjust the cell constant to 1.0 ± 0.05
│
▼
Calibrate by standard conductivity solution
│
▼
Adjust the conductivity value to temperature(22°C-25°C) λ=1.41 ms/cm
│
▼
Calibration OK. Wash with distilled water & wipe with tissue paper.Record the displayed conductivity result of test sample
Precautions:
- Clean the electrode with clean & dry tissue before dipping from conductivity solution to sample to avoid cross contamination.
- Always take 3 readings to get the accuracy of result.
- Take the reading when the values are in stable condition.
- Repeat the calibration process or inform the technical manager if variation exceed the ±5%
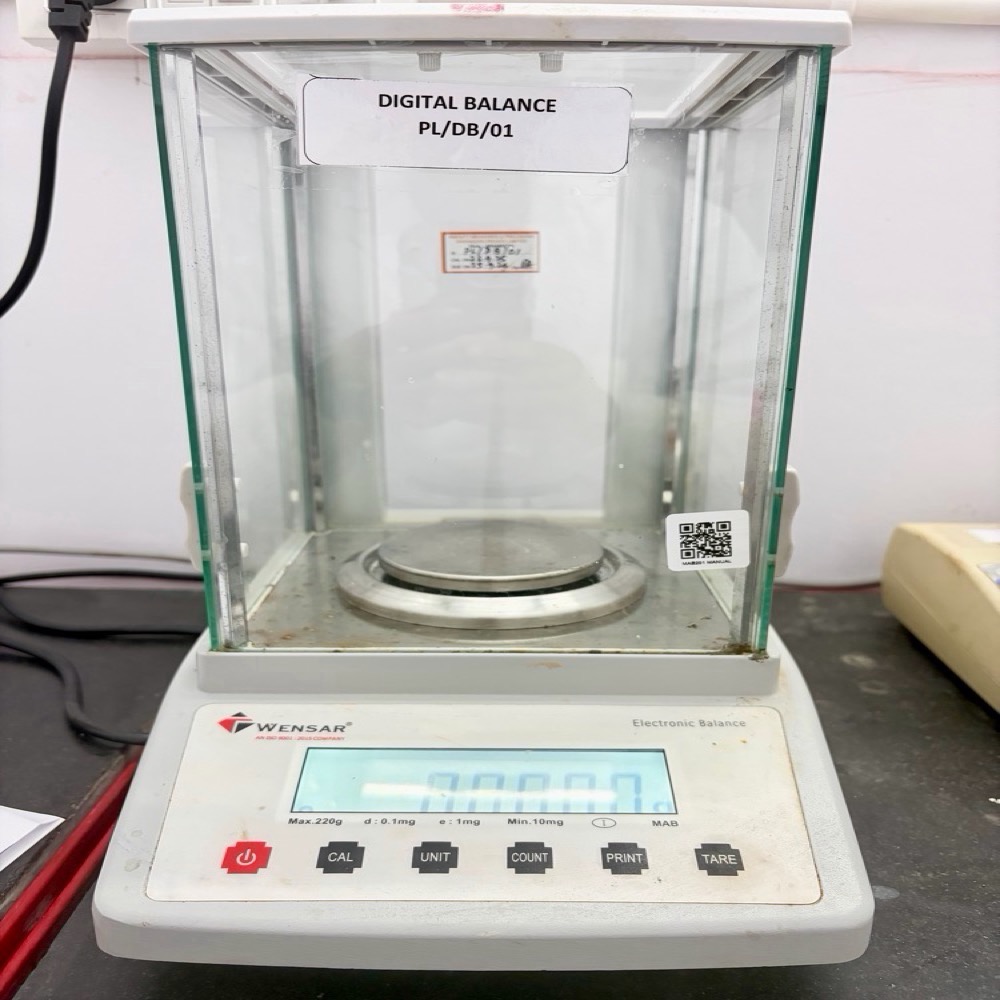
(3) Analytical Balance
Model no- Wenser -4D- 220
Lab Id no -PL/DB/01
Switch on the instrument & allow to warm for 15 minutes at room temperature(22°C-25°C)
│
▼
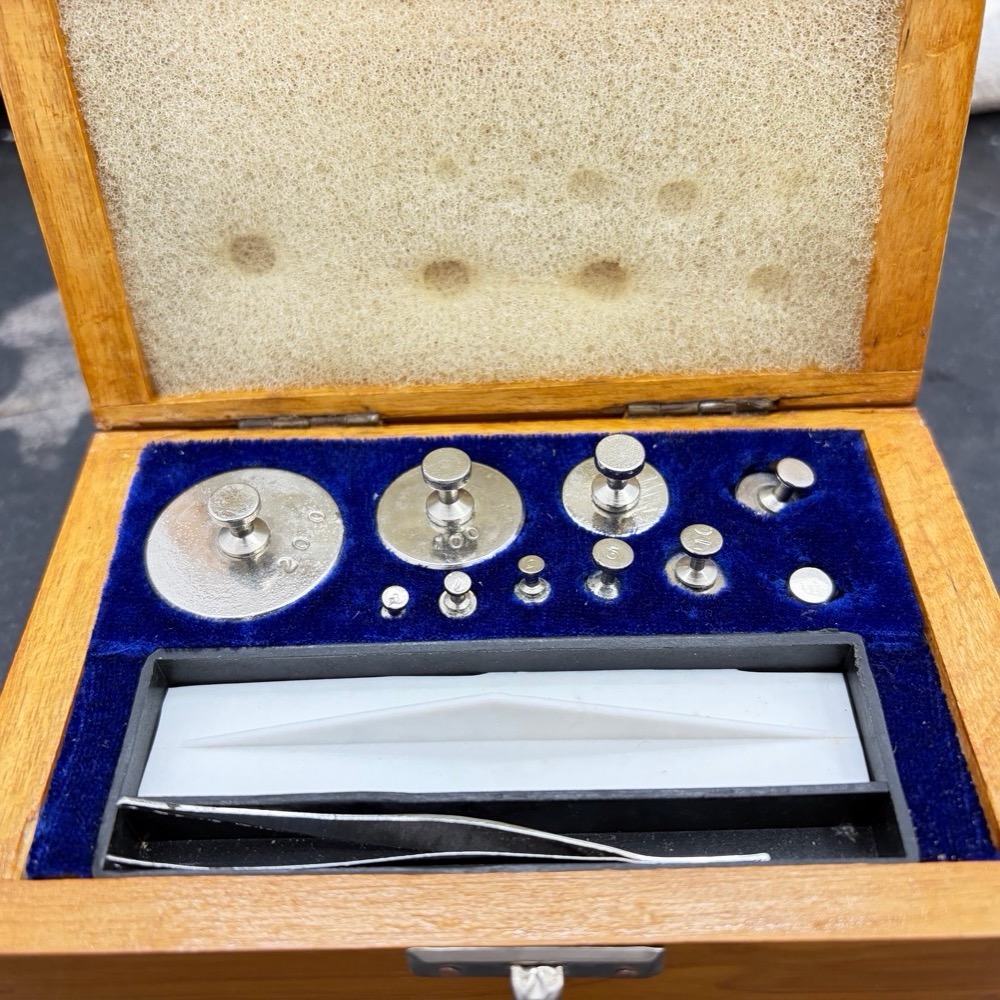
Calibrate the balance by standard weight box. 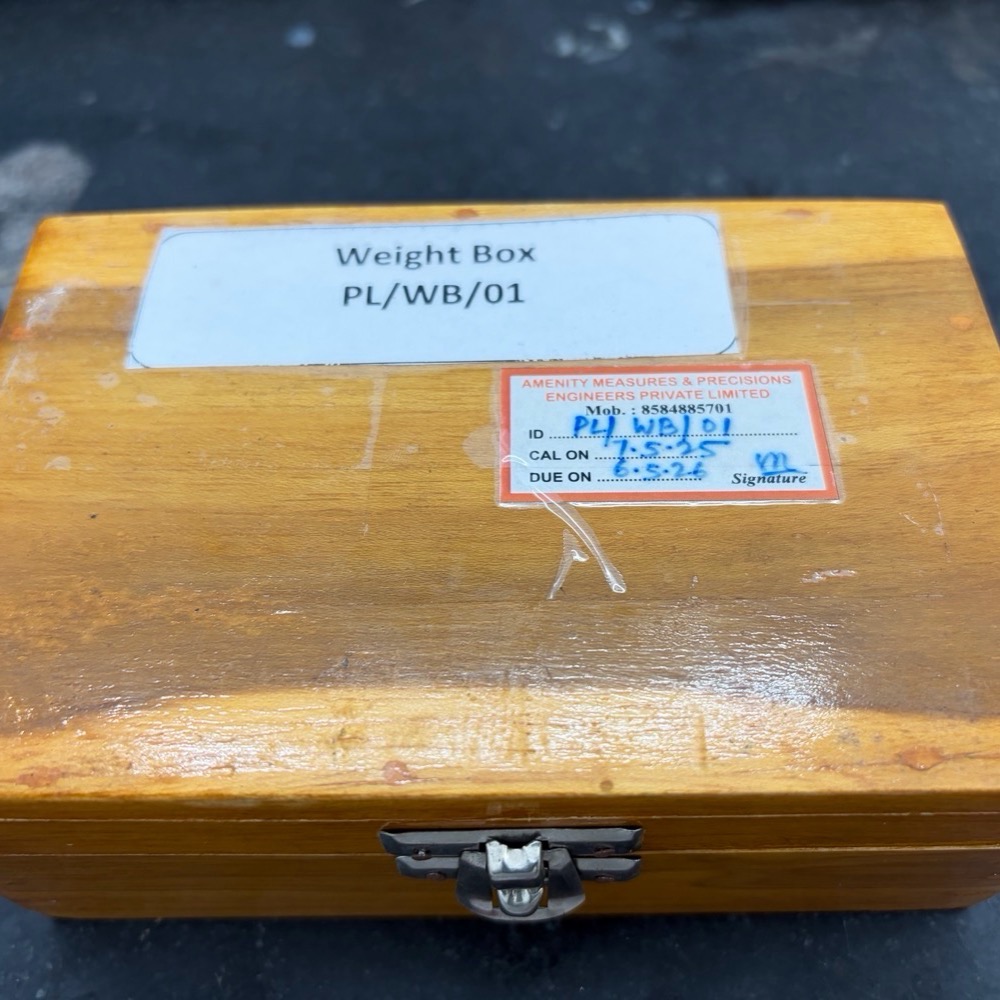
│
▼
Tare & check the standard weight.
│
▼
Now the required weight of sample can be taken after calibration.
Precautions:
- Always clean the balance pan before or after use.
- Close the door properly to prevent passing of air.
- Use calibrated weight box & always clean these by tissue before start calibration.
- Take the reading when the values are in stable condition.
- Use clean & dry glasswares before weighing to avoid errors in result.
- Repeat the calibration process or inform the technical manager if variation exceed the ±5%
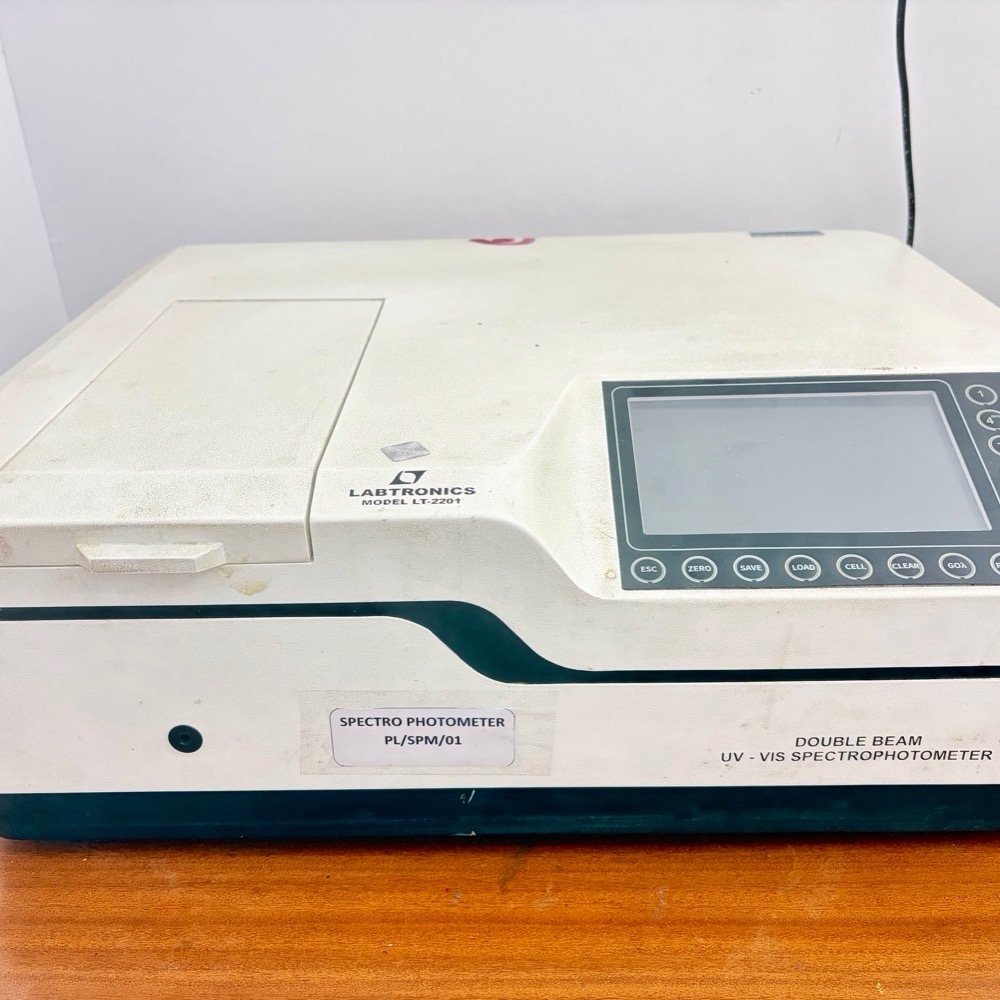
(4) UV-VIS Spectrophotometer
Model no- Labtronics
Lab Id no –PL/SPM/01
Switch on the instrument & allow to warm for 20 minutes at room temperature(22°C-25°C)
│
▼
Select the absorption & set the wavelength needed
│
▼
Set the instrument to 0.000 with the solvent used
│
▼
Measure the absorbance (OD) of the developed colour of the test solution.
│
▼
Record the absorbance (OD) value & utilize in calculation.
Precautions:
- Do not keep open the sample compartment lid for long time.
- Use clean cuvette.Before placing it into the sample compartment clean the outside with tissue.
- Take the reading when the values are in stable condition.
- Avoid direct contact of light.
- Repeat the calibration process or inform the technical manager if variation exceed the ±5%
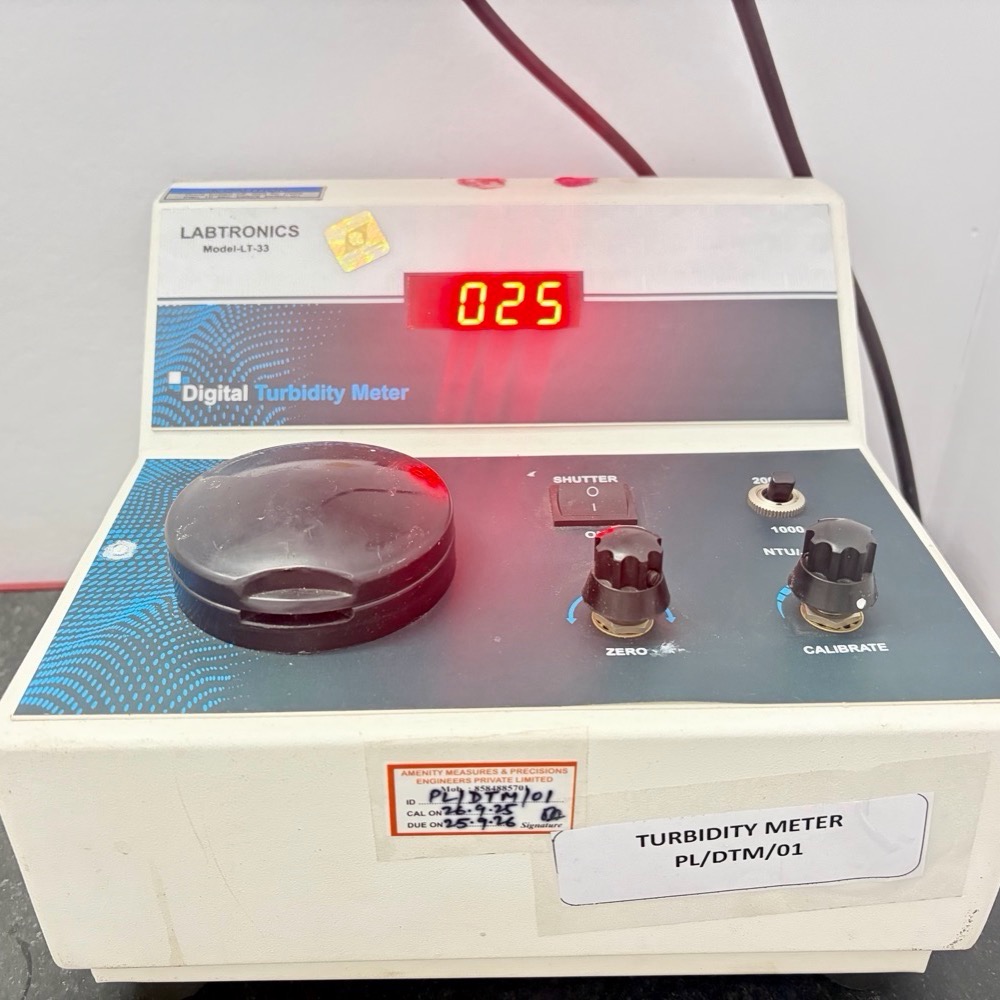
(5) Turbidity Meter
Model no- Labtronics
Lab Id no-PL/DTM/01
Switch on the instrument & allow to warm for 20 minutes at room temperature(22°C-25°C)
│
▼
Set the instrument to 0.000 with the distilled water
│
▼
Calibrate with standard turbidity Solution.(10 NTU,50 NTU,100 NTU)
│
▼
After the calibration measure the turbidity of the test sample.
Precautions:
- Do not keep open the sample compartment lid for long time.
- Before placing the sample bottle into the sample compartment clean the outside with tissue.
- Always use fresh intermediated turbidity solution & dilute in proper way.
- Take the reading when the values are in stable condition.
- Avoid direct contact of light.
- Repeat the calibration process or inform the technical manager if variation exceed the ±5%